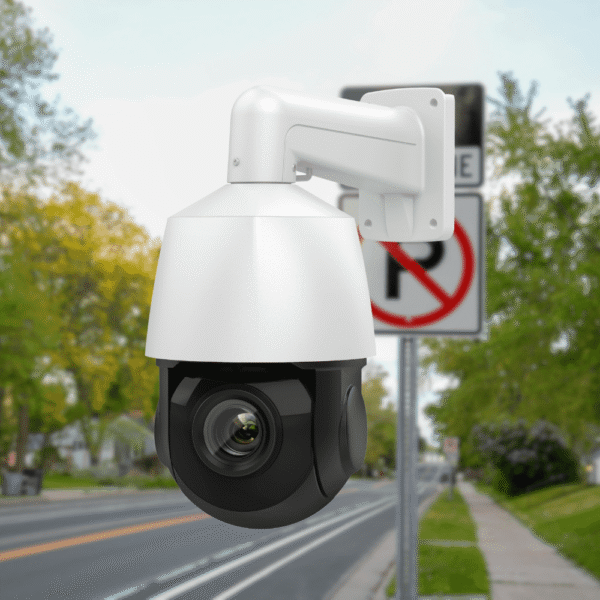

How to Add a Hikvision 4G PT Camera to a DVR for Live View & Recording?

Security system operators often face a specific challenge when expanding existing setups: integrating network devices with traditional recording hardware. If you are operating a standard Hikvision DVR, adding a LAN-connected Hikvision 4G PT camera allows you to bypass onboard SD card storage limitations and centralize your entire surveillance feed on a single monitor and hard drive. This guide outlines the exact workflow to configure network settings, integrate the hardware, and establish remote viewing.

How to Configure a Static IP for a Hikvision 4G PT Camera?

Network cameras use DHCP by default, meaning your router will periodically assign them a different IP address. If the IP address changes, the DVR will lose the connection. You must assign a static IP address to stabilize the communication between the devices.

  1. Connect the Hikvision 4G PT camera and the Hikvision DVR to the same modem or router using LAN cables.
  2. Type the camera’s current IP address into a web browser and log in with your administrator credentials.
  3. Navigate to Configuration > Network > Network Settings > TCP/IP.
  4. Uncheck the DHCP option to disable automatic IP assignment.
  5. Manually enter a static IP address that falls within your router’s subnet range (for example, if the router’s IP is 192.168.1.1, assign the camera 192.168.1.101).
  6. Enter the router’s IP address into the Gateway field.
  7. Save the configuration. The camera will initiate a reboot.
  8. Enter the new static IP address into your browser to verify you have network access.

How to Add the IP Camera to a Hikvision DVR?

With the camera’s network address locked, you can route the video feed into the DVR. Note that a 4-channel Hikvision DVR supports one default IP camera, while an 8-channel DVR supports two. You can disconnect physical analog cables to free up additional IP channels if you exceed the default capacity.

  1. Type the DVR’s IP address into a web browser and log in using admin credentials.
  2. Navigate to Configuration > Camera Management.
  3. Select Quick Add to run an automatic network scan for LAN-connected cameras, or select Add to configure the connection manually.
  4. For the manual method, input the camera’s new static IP address into the IP Address field.
  5. Set the Protocol to Hikvision.
  6. Set the Management Port to 8000.
  7. Enter “admin” as the username and type in the device’s activation password.
  8. Click OK.

Check the IP channel page. The camera status will update to “Online” once the DVR establishes communication.

How to Configure Storage and Hik-Connect Remote Viewing?

Once online, the camera feed will appear alongside your existing analog cameras on the DVR’s live view monitor. You can now manage its recording rules directly from the DVR interface.

  1. Open the Storage Schedule settings page in the DVR interface.
  2. Select between continuous non-stop recording or motion detection recording.
  3. Apply these recording rules to specific weekly or hourly time blocks.
  4. Access the Playback tab to review footage stored on the DVR hard drive.
  5. Open the Hik-Connect mobile app to view the combined network and analog camera feeds remotely.

Common Installation Errors and Troubleshooting

  • Video Feed Drops: If the DVR displays a “No Link” or “Offline” status for the network camera after a router reboot or power outage, check the camera’s TCP/IP settings. If DHCP was left enabled, the router assigned a new IP address. Repeat the static IP configuration steps to resolve this.
  • App Synchronization Issues: If the newly added network camera does not appear in the Hik-Connect app immediately after DVR integration, force a connection refresh. Close the mobile application completely, or log out and log back into your account.

System Integration Use Cases

Routing a LAN-connected Hikvision 4G PT camera through a legacy DVR allows security personnel to maintain a single point of monitoring. It centralizes all video data to an internal, high-capacity hard drive, enabling historical playback and continuous recording without relying on individual edge storage.

About VisionIPC

VisionIPC is a direct distributor for Hikvision cameras Opens in a new window and Dahua CCTV equipment. We supply authorized hardware for professional security network integrations and commercial surveillance upgrades.

Request a Project Quote

For technical equipment inquiries, project pricing, or to procure authorized surveillance hardware for your next installation, contact our sales engineering team to request a comprehensive quote.

Share this post

Related Post

You May Like

Dive into our handpicked articles below, curated to align with your interest in reliable security technology, featuring expert tips, product deep dives, and scenario-based guides.