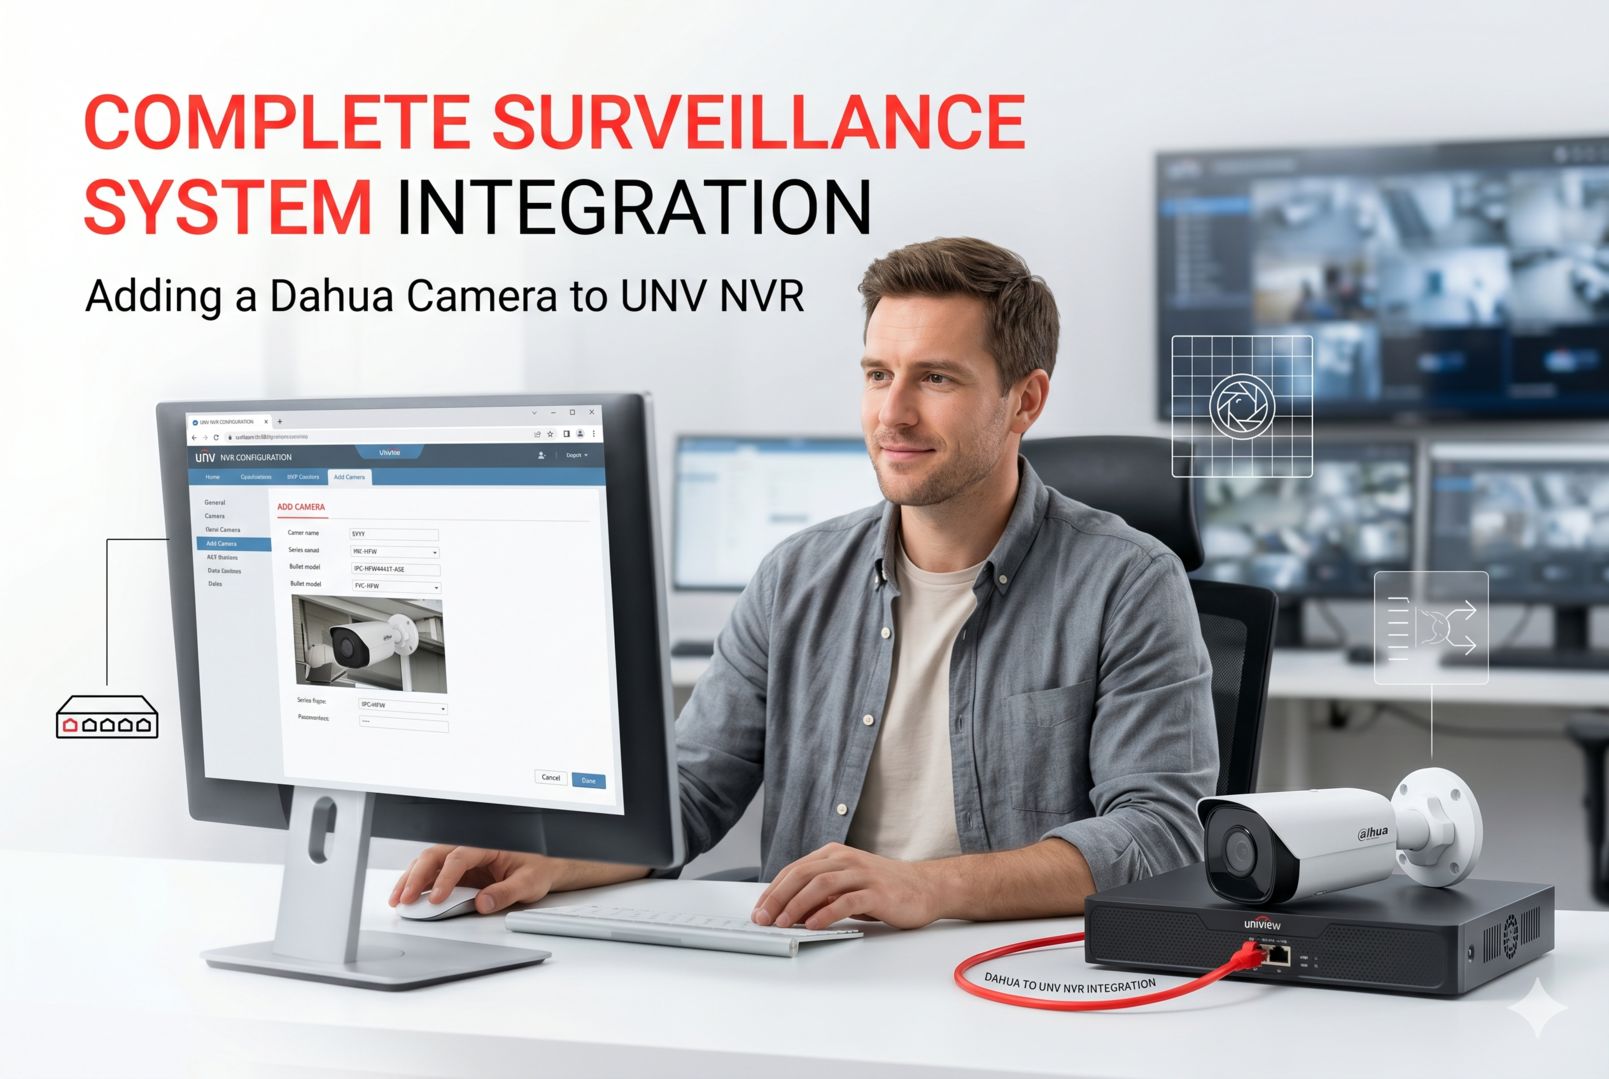
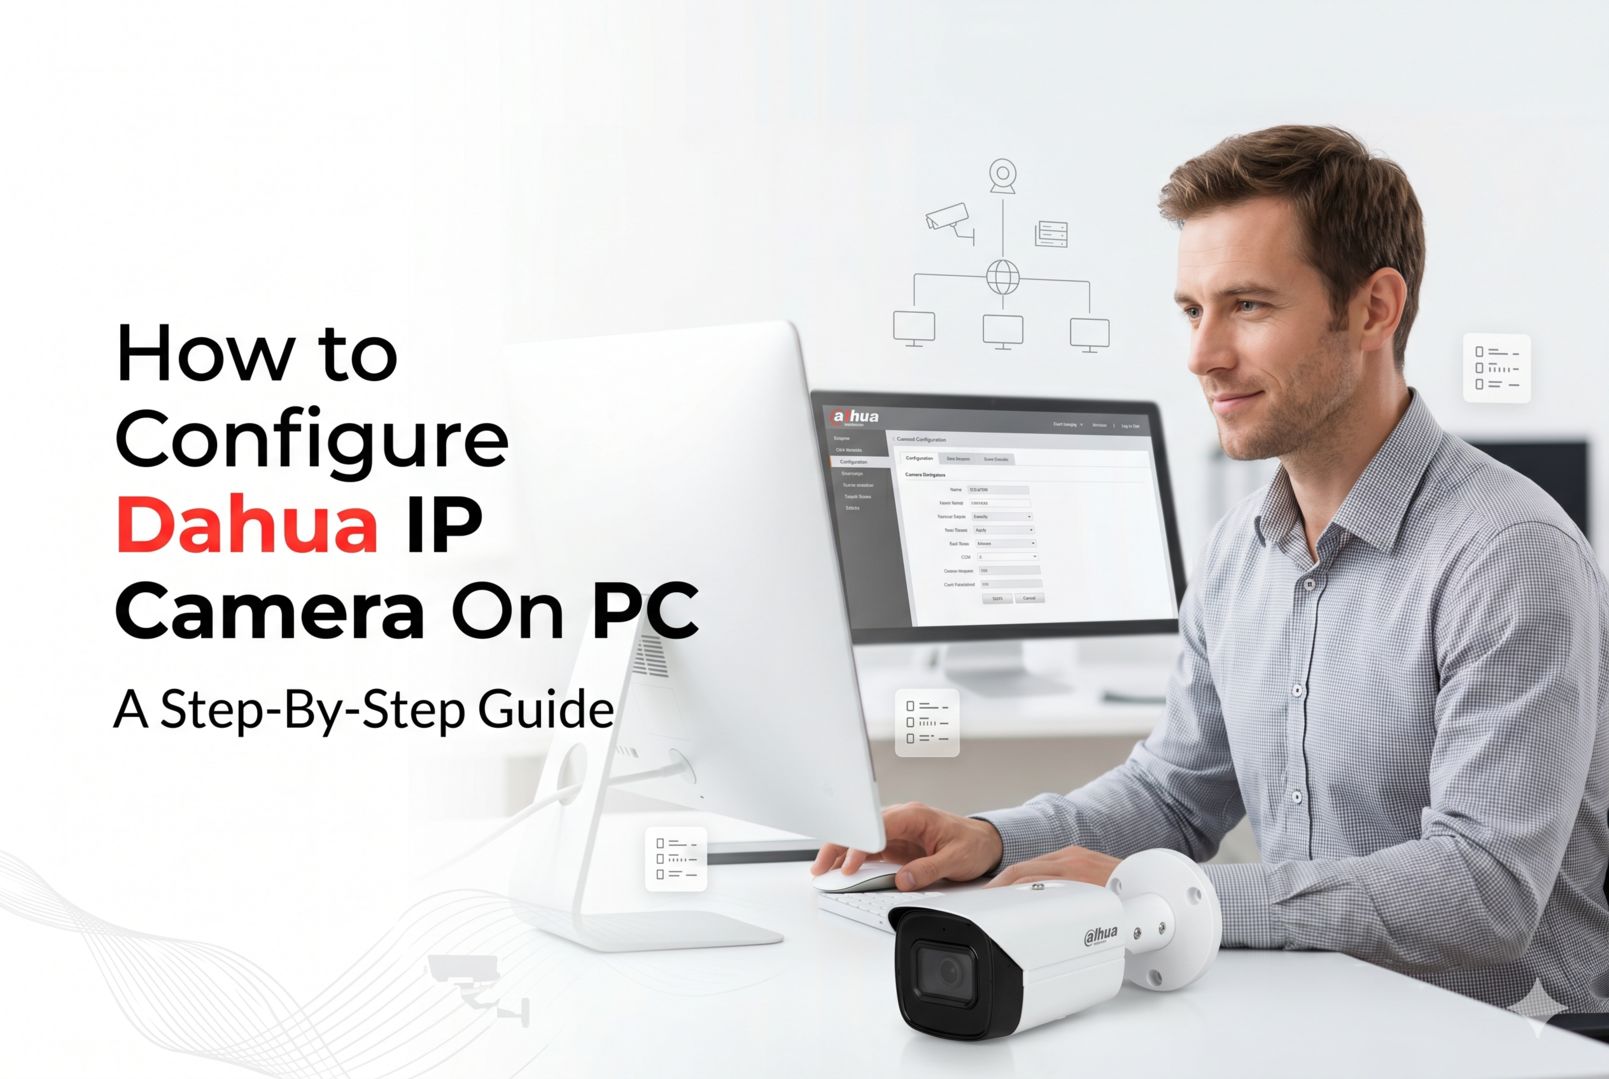
Welcome to this comprehensive tutorial. If you are wondering how to configure Dahua IP camera on PC, you are in the right place. This guide will walk you through the exact steps to connect and initialize your device directly from your laptop.
Required Equipment
To start the IP camera configuration, you need two things:
A network patch cable
A 12V power adapter
Step 1: Initial Network Setup
Connect your camera to your computer using the network patch cable and plug in the 12V power adapter.
Open the Control Panel on your computer and navigate to “Network and Internet,” then select “Network and Sharing Center.”
Click on “Ethernet” and go to “Properties.”
Select “Internet Protocol Version 4 (TCP/IPv4)” and click “Properties.”
Set your laptop Ethernet connection according to the camera default IP class. The default IP of a Dahua IP camera is 192.168.1.108.
Choose “Use the following IP address” and set your laptop IP address to 192.168.1.111, with a Subnet mask of 255.255.255.0. Click OK.
Step 2: Device Initialization
Open Microsoft Edge or your preferred web browser.
Type the default IP 192.168.1.108 into the address bar and hit Enter.
In the Country/Region Setting, select your Region (e.g., Pakistan), Language (English), and Video Standard (PAL). Click Next.
Read and agree to the Software License Agreement, then click Next.
In the Time Zone Setting, select your time zone and click “Sync PC.” Click Next.
Set a password for your IP cam. The default user is “admin.” Enter your password, confirm it, input your Email Address, and click Next.
Check the P2P box to enable remote management and click Next.
Check “Auto-check for updates” for online upgrades and click Save.
Step 3: Modifying Camera IP Address
At the login screen, enter your Username (admin) and your new password. Click Login.
Once logged in, go to the “Setting” tab, then navigate to “Network” and select “TCP/IP.”
It is important to understand that you must set the IP address to the camera according to your network class.
Change the camera IP Address (for example, to 10.10.30.144) and the Default Gateway (to 10.10.30.1). Click Save.
Step 4: Reconnecting To The New IP
After saving, the browser page will become unreachable because you need to change the IP class of your laptop Ethernet connection to access the IP cam from the new IP.
Go back to your Ethernet Properties and TCP/IPv4 settings.
Change your laptop IP address to match the new network class (for example, 10.10.30.111) and update the default gateway (10.10.30.1). Click OK.
Return to your browser and enter the new camera IP address (10.10.30.144).
Log in again with your admin credentials to successfully view the live stream.
About VisionIPC
If you are looking for high-quality surveillance equipment, VisionIPC is your trusted distributor. We specialize in providing top-tier security solutions, including Hikvision and Dahua IP cameras, NVR systems, and PoE accessories. Whether you need an advanced CCTV setup with ONVIF compatibility or reliable network components like TP-Link switches, we supply the best products to meet your operational requirements.
Conclusion
In summary, following these exact steps will allow you to successfully configure Dahua IP camera on PC without needing an NVR immediately. Understanding these network settings ensures your CCTV setup is secure and optimized. Ready to upgrade your security system? Shop our extensive catalog and contact VisionIPC for an exclusive price quote today.
Dive into our handpicked articles below, curated to align with your interest in reliable security technology, featuring expert tips, product deep dives, and scenario-based guides.