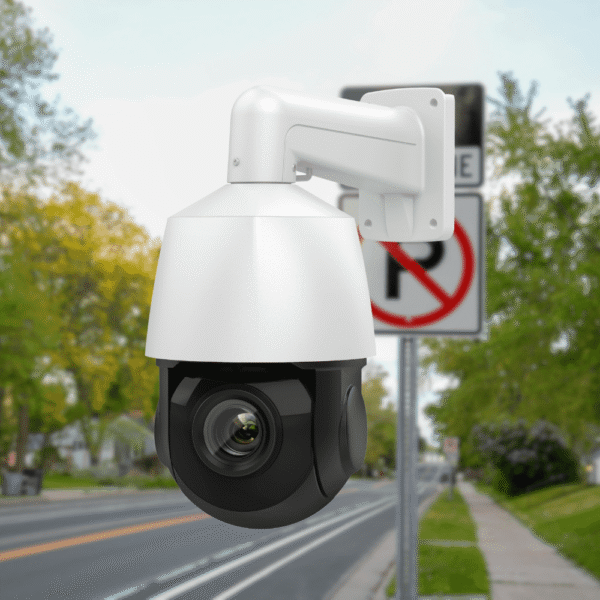

Hikvision Intercom Camera Setup: NVR Live Stream Configuration Guide

Operators frequently need to view network security feeds directly from indoor communication stations. Executing a correct Hikvision intercom camera setup bridges the network video recorder (NVR) and the physical handset, enabling direct live monitoring.

Register the intercom handset in iVMS-4200, open the Remote Configuration menu, and input the NVR IP address and RTSP port (554) under Intercom > IP Camera Information to establish the live feed.

How to Identify Device IP Addresses?

Locate the necessary hardware network addresses before configuring the management software.

  1. Open HiTools Delivery on the connected computer network.
  2. Document the IP address of the recording unit.
  3. Document the IP address of the intercom handset (model DS-KH6320).

How to Add the Intercom to iVMS-4200?

Device registration within the management interface establishes the necessary connection to the hardware.

  1. Launch iVMS-4200 and select Device Management located on the right side of the homepage.
  2. Click Add and assign a device name.
  3. Input the handset IP address identified in the previous phase.
  4. Specify port 8000.
  5. Enter the administrator username and password.

How to Configure the NVR Live Stream Connection?

This phase executes the core Hikvision intercom camera setup within the software to link the video channels.

  1. Navigate to Operation and click the gear icon (Remote Configuration) adjacent to the registered handset.
  2. Expand the Intercom section on the left panel and select IP Camera Information.
  3. Click Add and retain Direct as the camera type.
  4. Assign a device name corresponding to the target camera channel.
  5. Enter the NVR IP address into the IP Address field.
  6. Input 554 in the Port field to assign the default RTSP protocol.
  7. Input the specific camera username and password.
  8. Enter the target Channel Number corresponding to the recorder (e.g., channel 6).
  9. Click OK to save the parameters.

How to Access the Live View on the Handset?

Verify the configuration directly on the physical unit.

  1. Access the intercom handset and tap Live View.
  2. Tap the camera icon on the interface.
  3. Select the camera name designated during the iVMS-4200 configuration.
  4. Press the play icon to load the video feed.

Common Configuration Errors and Encoding Requirements

Intercom handsets process sub-stream video feeds. Modern recording units utilize H.265 compression by default, whereas intercom handsets require H.264 encoding. If the live feed fails to load on the handset screen, adjust the encoding format on the camera or NVR.

  1. Access the camera configuration interface.
  2. Navigate to Video and Audio parameters.
  3. Select the Sub-stream configuration profile.
  4. Modify the Video Encoding parameter from H.265 to H.264.
  5. Save the configuration and initialize the live view on the handset again.

Typical Application Scenarios

Routing specific recording channels to indoor communication stations allows property owners to monitor external environments without relying on a dedicated monitoring display or mobile application.

VisionIPC – China Realiable CCTV Distributor

VisionIPC operates as a certified Hikvision cameras and Dahua CCTV distributor, supplying network video recorders, communication handsets, and IP security hardware for integrated system deployments.

Secure Your Surveillance Today

Evaluate current hardware compatibility or upgrade legacy systems to unified network solutions. Contact VisionIPC team for specialized quotes on integrated hardware packages to initiate your next Hikvision intercom camera setup and expand your remote monitoring capabilities.

Share this post

Related Post

You May Like

Dive into our handpicked articles below, curated to align with your interest in reliable security technology, featuring expert tips, product deep dives, and scenario-based guides.